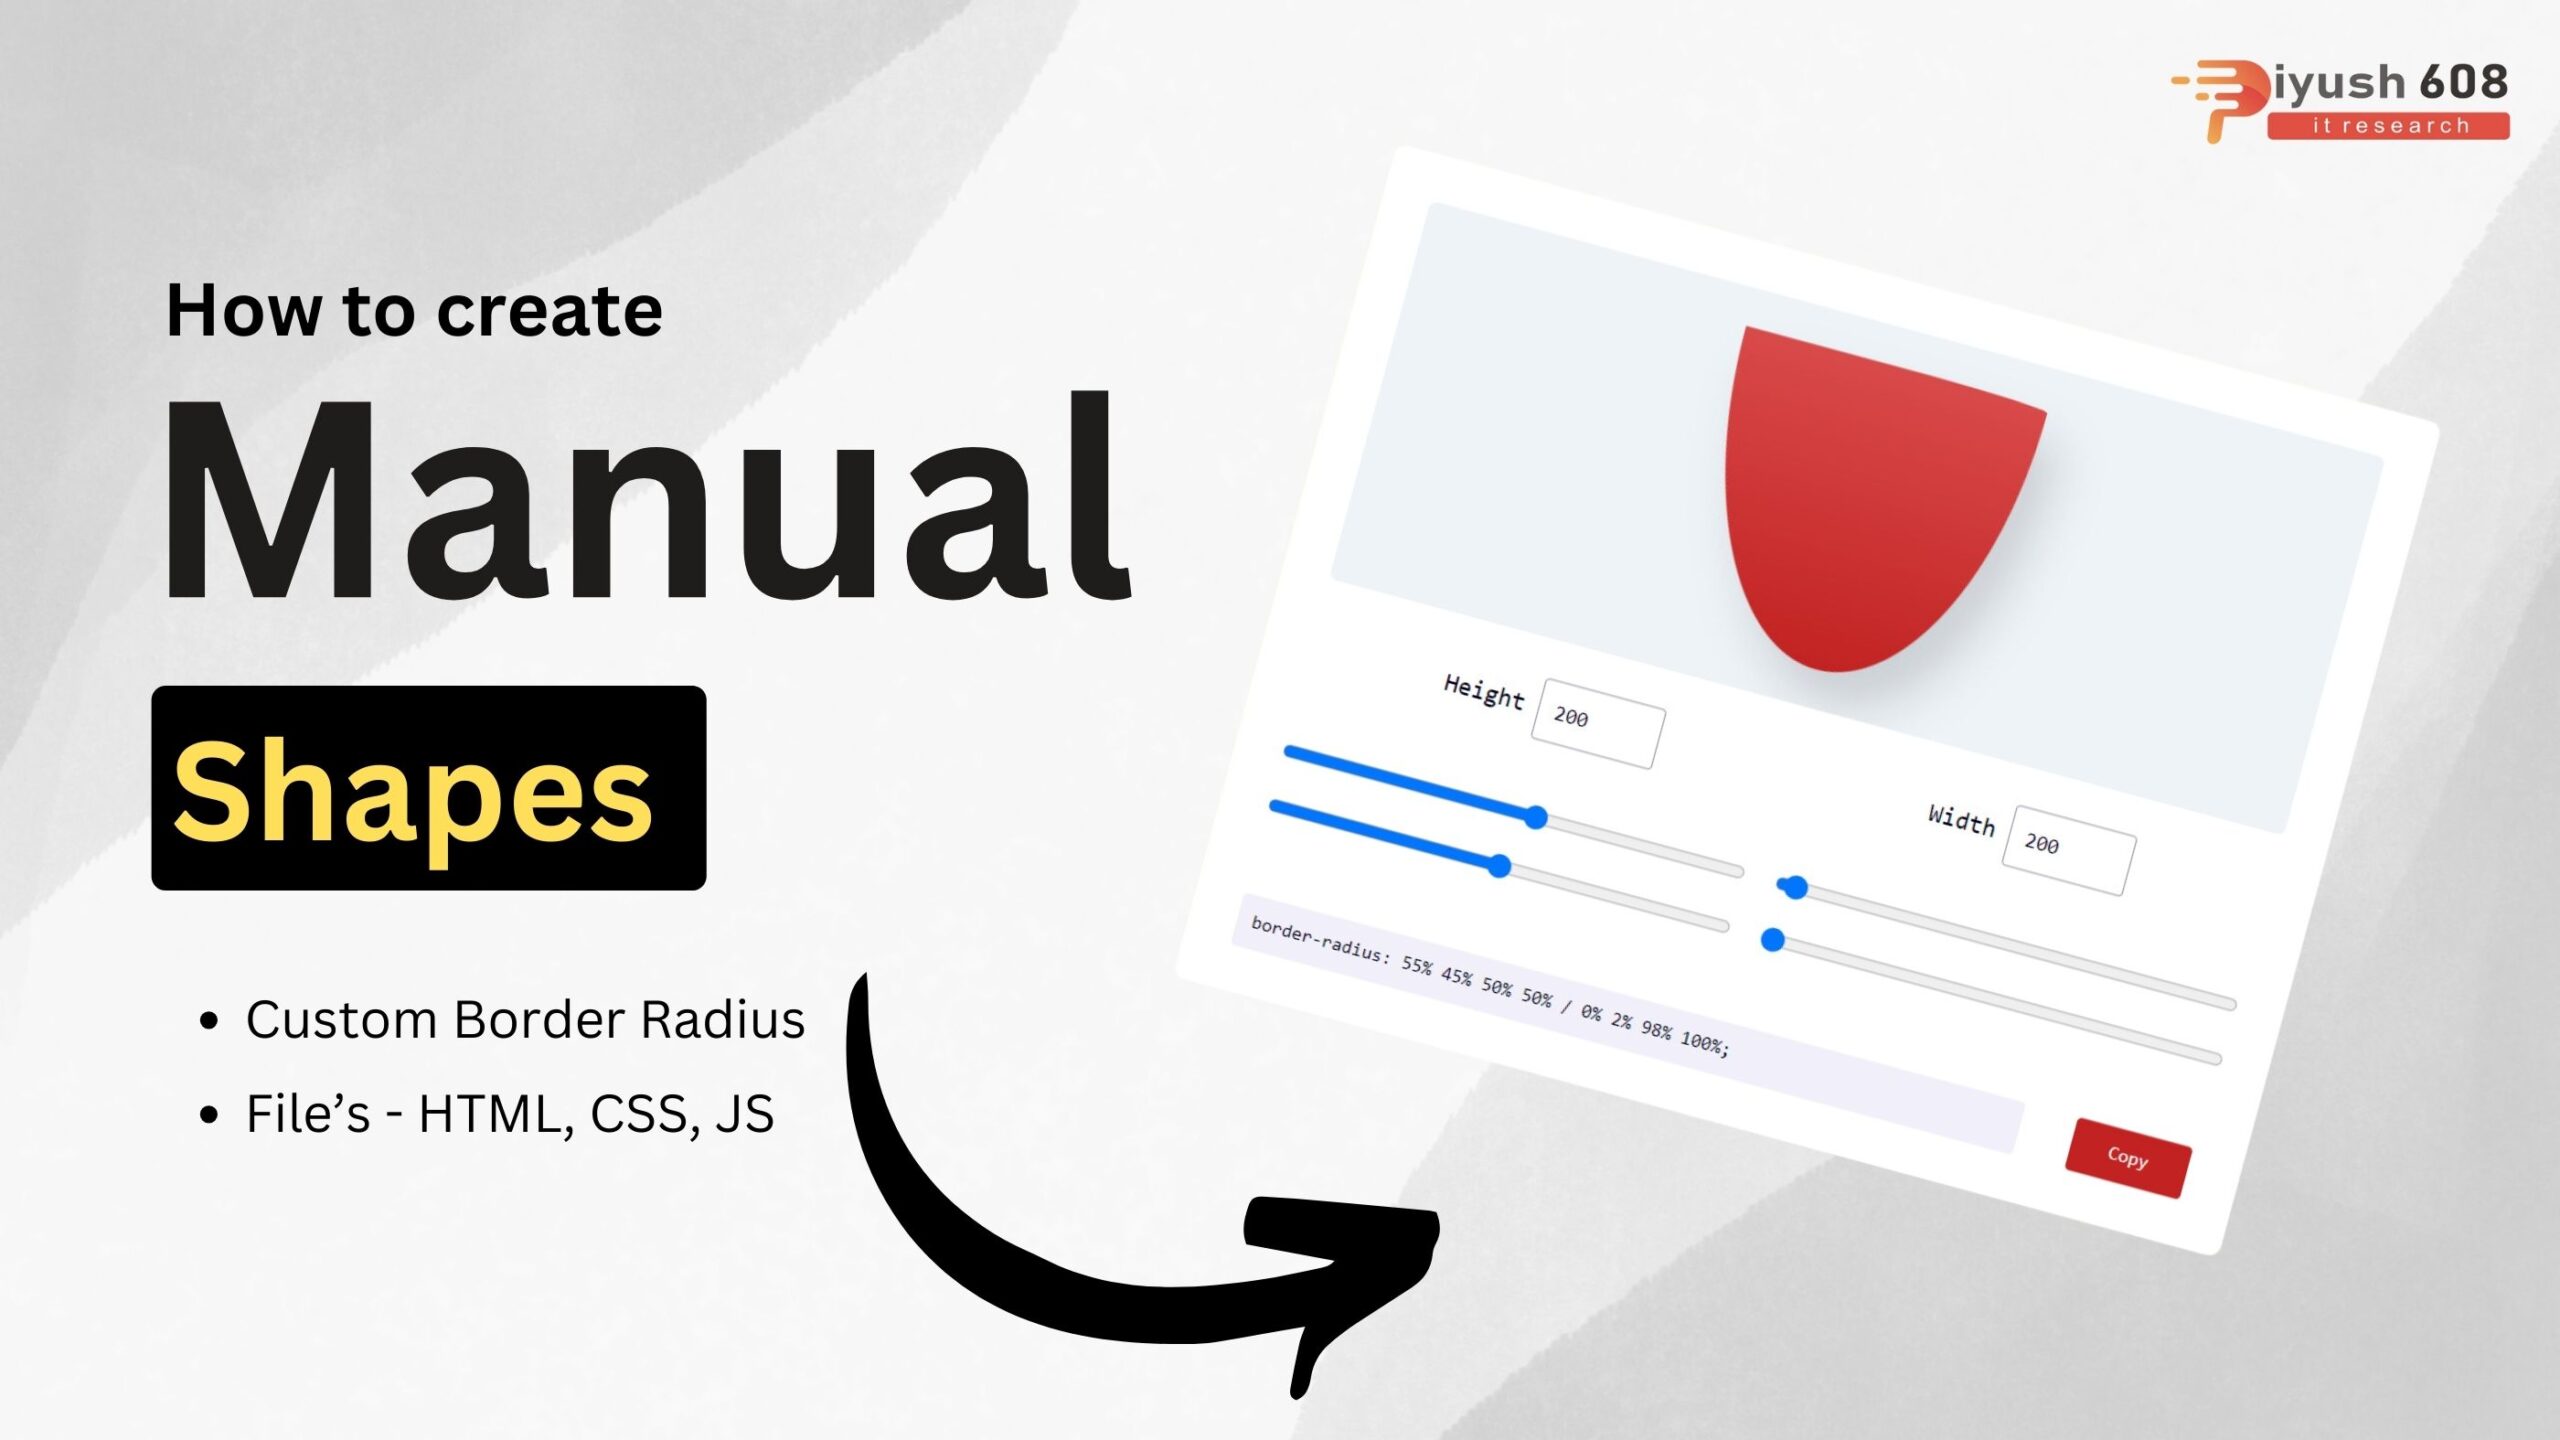
Creating manual shapes in HTML, CSS, and JavaScript involves using a combination of HTML elements, CSS properties, and sometimes JavaScript for dynamic interaction. Here’s a step-by-step guide to create some basic shapes:
HTML:
<!DOCTYPE html>
<html lang="en">
<head>
    <meta charset="UTF-8">
    <meta http-equiv="X-UA-Compatible" content="IE=edge">
    <meta name="viewport" content="width=device-width, initial-scale=1.0">
    <link rel="stylesheet" href="style.css">
    <link rel="preconnect" href="https://fonts.googleapis.com">
    <link rel="preconnect" href="https://fonts.gstatic.com" crossorigin>
    <link href="https://fonts.googleapis.com/css2?family=Roboto:wght@400;500&display=swap" rel="stylesheet">
    <title>Blob Maker</title>
</head>
<body>
    <div class="wrapper">
        <div class="output">
            <div id="blob"></div>
        </div>
        <div class="dimesions">
            <div>
                <label for="blog-height">
                    Height
                </label>
                    <input type="number" value="200" id="blob-height">
            </div>
            <div>
                <label for="blog-width">
                    Width
                </label>
                    <input type="number" value="200" id="blob-width">
            </div>
        </div>
        <div class="sliders">
            <input type="range" value="30">
            <input type="range" value="80">
            <input type="range" value="60">
            <input type="range" value="40">
        </div>
        <input type="text" id="css-code" readonly>
        <button id="copy">Copy</button>
    </div>
    <script src="app.js"></script>
</body>
</html>
CSS
* {
    padding: 0;
    margin: 0;
    box-sizing: border-box;
    outline: none;
    font-family: "Roboto Mono", monospace;
    font-weight: 400;
    color: #010120;
}

body {
    background-color: lightgoldenrodyellow
}

.wrapper {
    background-color: #ffff;
    width: 45%;
    min-width: 550px;
    padding: 30px;
    position: absolute;
    transform: translate(-50%, -50%);
    top: 50%;
    left: 50%;
    border-radius: 8px;
}

.output {
    background-color: #eef3f8;
    width: 100%;
    min-height: 250px;
    padding: 20px 0;
    overflow: hidden;
    border-radius: 5px;
    position: relative;
    display: grid;
    place-items: center;
}

#blob {
    height: 200px;
    width: 200px;
    border-radius: 50%;
    background: linear-gradient(
        #d94a4a,
        #c22222
    );
    box-shadow: 15px 20px 30px rgba(0, 0, 0, 0.15);
}

.dimesions {
    display: flex;
    justify-content: space-around;
    width: 100%;
    margin: 20px 0 40px 0;
}

label {
    font-weight: 500;
}

input[type='number'] {
    height: 40px;
    width: 80px;
    padding: 10px;
    margin-top: 5px;
    border: 1px solid #a0a0b0;
    border-radius: 3px;
}

input[type='number']:focus {
    background-color: #f1f5fa;
    border-color: #c22222;
    color: #c22222;
}

.sliders {
    width: 100%;
    display: grid;
    grid-template-columns: 1fr 1fr;
    grid-gap: 20px;
}

input[type='text'] {
    width: 82%;
    margin-top: 50px;
    padding: 10px;
    font-size: 12px;
    border: none;
    background-color: #f1eff9;
    border-radius: 3px;
}

button {
    width: 12%;
    margin-left: 4%;
    padding: 10px 0;
    background-color: #c22222;
    border: none;
    cursor: pointer;
    border-radius: 3px;
    color: #fff;
    font-size: 12px;
}
Javascript
let outputCode = document.getElementById("css-code");

let sliders = document.querySelectorAll("input[type='range']");
    sliders.forEach(function(slider) {
        slider.addEventListener("input", createBlob);
    });

let inputs = document.querySelectorAll("input[type='number']");
    inputs.forEach(function(inp) {
        inp.addEventListener("change", createBlob);
    });

function createBlob(){
    let radiusOne = sliders[0].value;
    let radiusTwo = sliders[1].value;
    let radiusThree = sliders[2].value;
    let radiusFour = sliders[3].value;

    let blobHeight = inputs[0].value;
    let blobWidth = inputs[1].value;

    let borderRadius = `${radiusOne}% ${100-radiusOne}% ${100 - radiusThree}% ${radiusThree}% / ${radiusFour}% ${radiusTwo}% ${100 - radiusTwo}% ${100 - radiusFour}%`;

    document.getElementById("blob").style.cssText = `border-radius: ${borderRadius}; height: ${blobHeight}px; width: ${blobWidth}px`;

    outputCode.value = `border-radius: ${borderRadius};`
}
    document.getElementById("copy").addEventListener("click", function () {
        outputCode.select();
        document.execCommand("copy");
        alert('Code copied!')
    });
This example creates a star using the <polygon> element within an SVG tag and styles it with CSS. The points attribute defines the vertices of the star, and CSS is used to change the fill color on hover.
By combining HTML, CSS, and JavaScript, you can create a wide variety of shapes and interactive graphics for your web projects.
Read this also :
Published: August 5, 2024
Updated: March 13, 2026
piyush
HTML Project